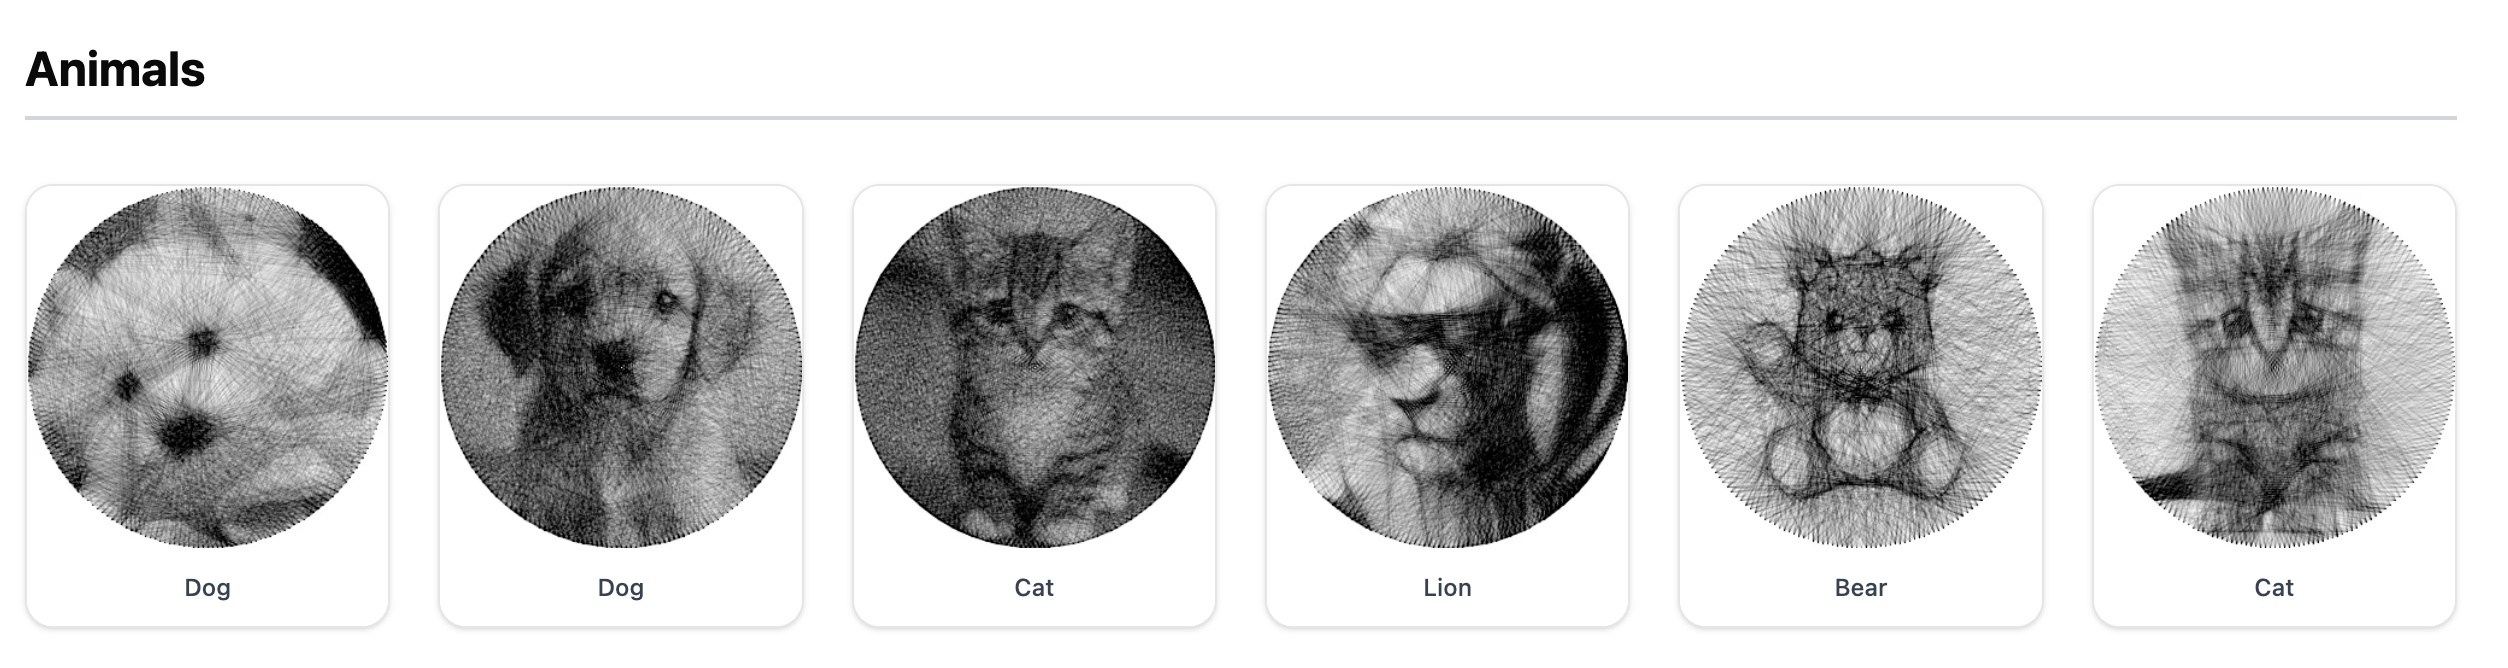
Have you ever seen those incredible "string art" pictures? An artist hammers nails around the border of a board and then weaves a single, long thread between them. Miraculously, these straight lines combine to form complex images, even photorealistic portraits.
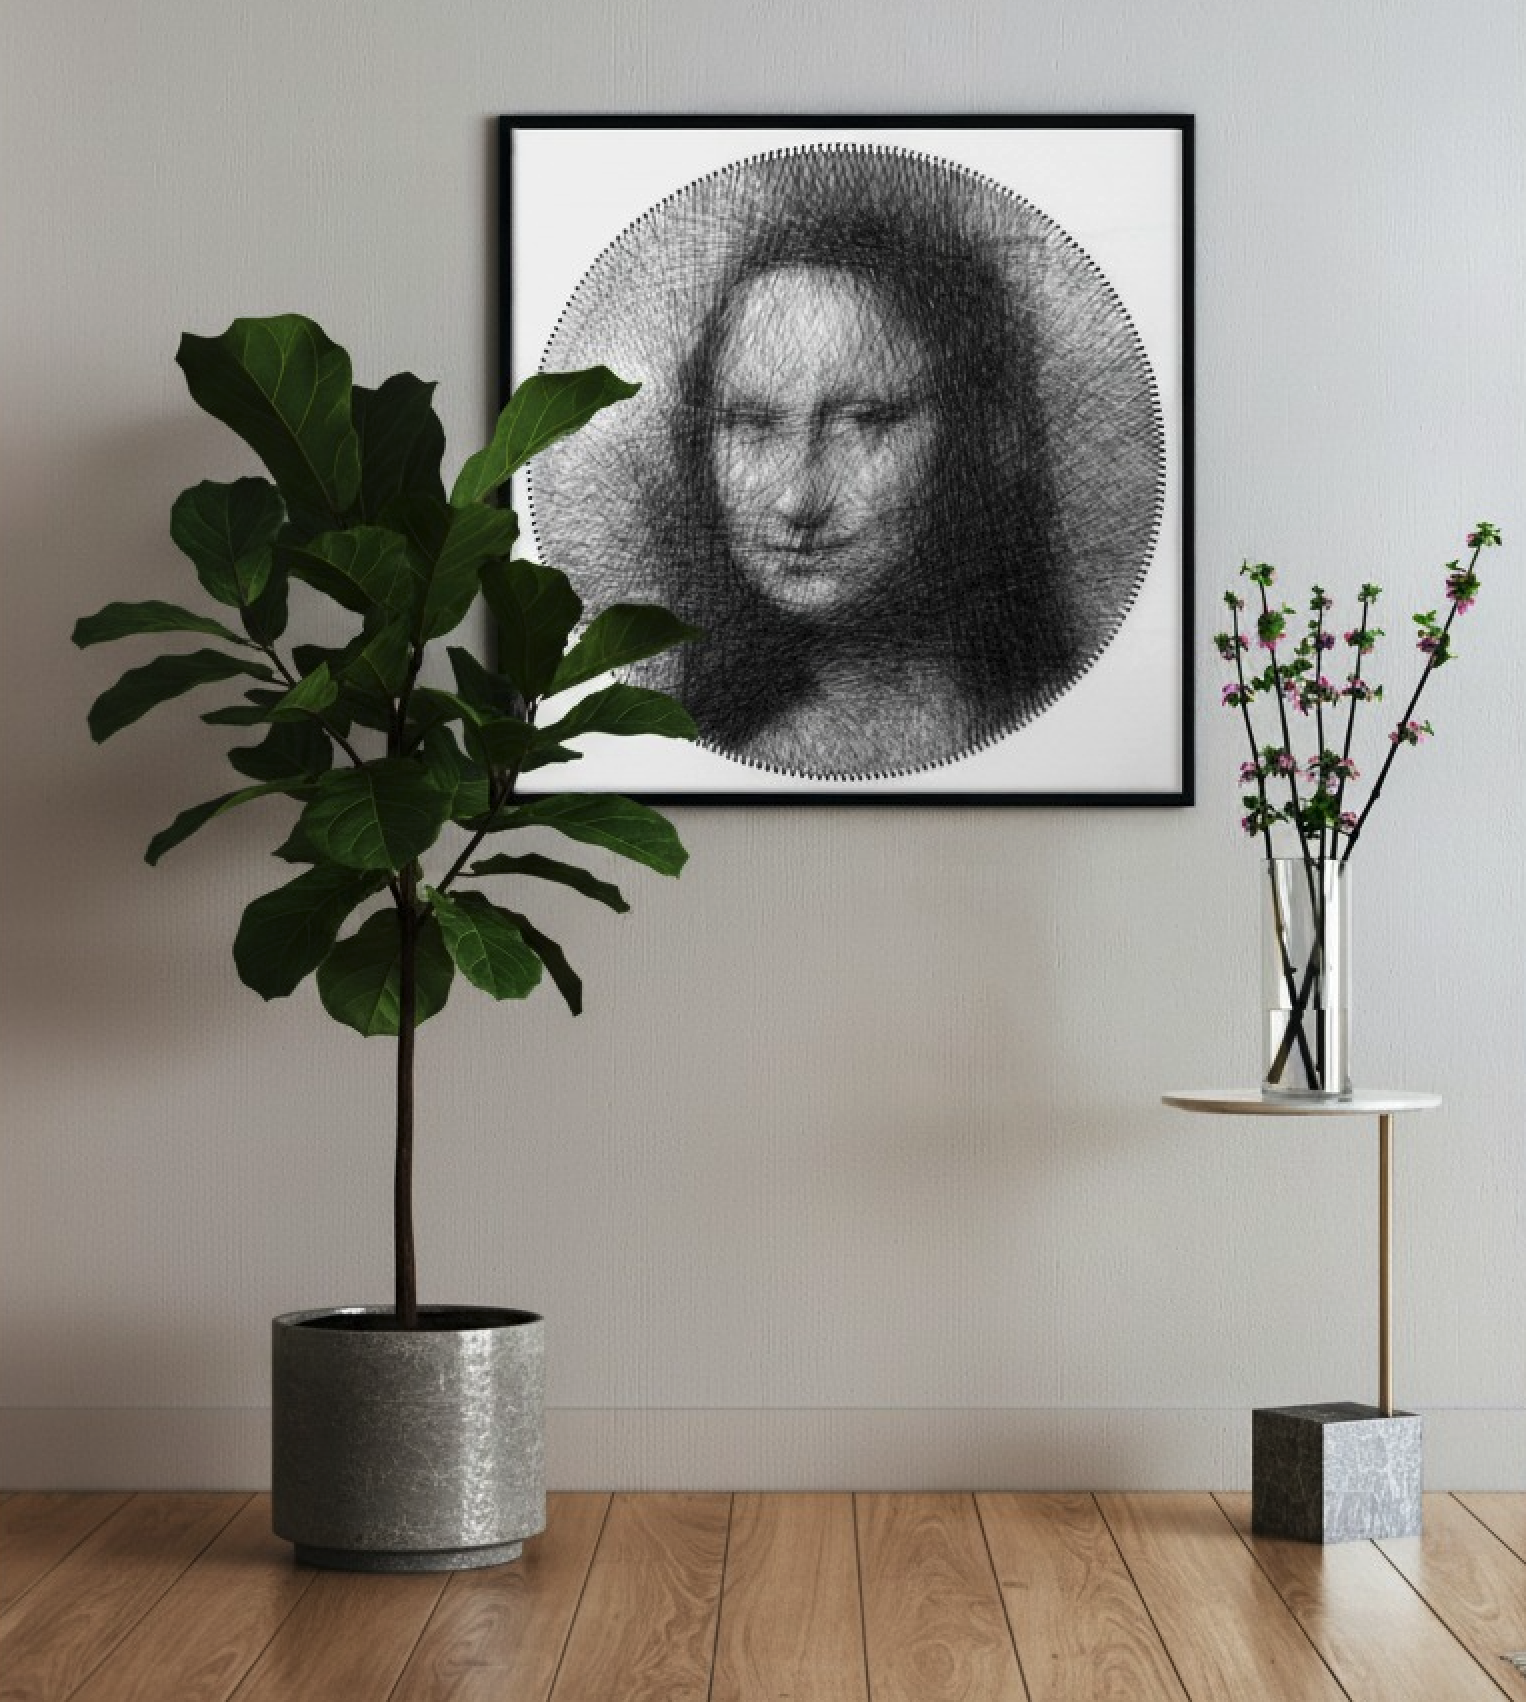
This art form might seem purely creative, but it's deeply rooted in mathematics. Every single thread is chosen with precision. Inspired by the pioneering artist Petros Vrellis, I decided to see if I could write an algorithm to automate this entire process.
In this post, I want to walk you through my journey—from the initial ideas and failed attempts to the final, successful solution and the fun math behind it. You can experience it at StringArt
Step 1: Building the Digital Workspace
Before we can teach a computer to create art, we need to give it a digital canvas and thread.
1. How do you "draw" a thread in a computer?
A single thread connects two nails. My first idea was straightforward: use high school math to figure out the equation of the line and then color in all the pixels along its path according to the thread's thickness.
While accurate, this method was painfully slow. Imagine a canvas with hundreds of thousands of pixels and hundreds of nails. That creates tens of thousands of possible lines. Calculating the position for every pixel, for every potential line, would take forever.
So, I switched to a smarter approach: using a pre-built programming tool. It draws lines incredibly fast and includes a fantastic feature called anti-aliasing.
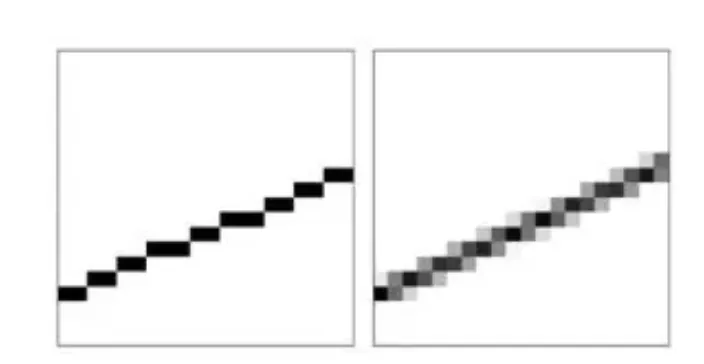
Anti-aliasing makes the line's edges appear slightly blurry and soft instead of like a jagged staircase of pixels. This beautifully mimics the look of a real thread. Best of all, this tool tells me exactly which pixels the line passes through, which saves a massive amount of calculation time later on.
2. What's the right canvas size?
You might think a higher resolution is always better for more detail. But surprisingly, during the creation process, using a smaller resolution (like 600x600 pixels) is actually more effective.
- It's Faster: Fewer pixels mean fewer calculations.
- It Blends Colors Naturally: On a low-res canvas, a thin thread might be finer than a single pixel. When multiple threads of different colors cross the same pixel, their colors blend together. This is very similar to how our eyes perceive colors from a distance.
Of course, for the final, high-quality export, we switch back to a high resolution to show off the crisp, individual lines.
Step 2: Finding the Best Path (The Black & White Algorithm)
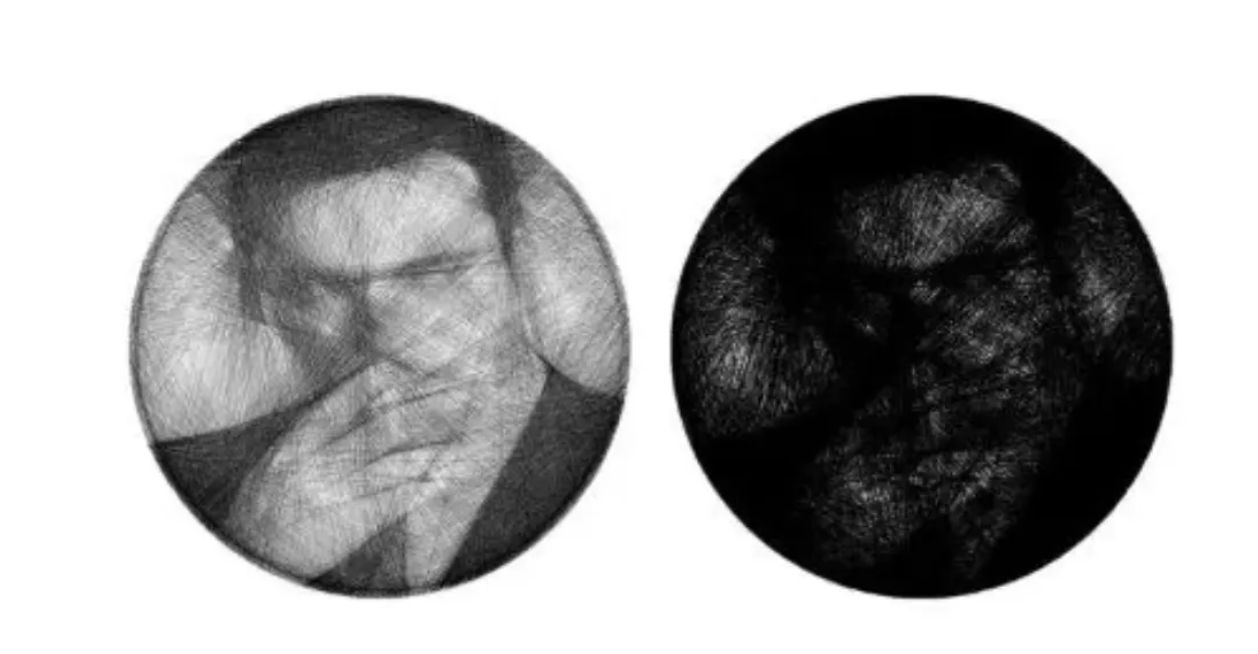
With our tools ready, we face the core challenge: How does the computer decide which two nails to connect next? We'll start with a simple black-and-white image.
First, a quick trick: we invert the target image. A portrait with black hair on a white background becomes white hair on a black background. Now, our goal is simple: start with a blank white canvas and keep adding black threads until it matches our inverted target.
I experimented with three different strategies.
Strategy 1: The Simple, "Short-Sighted" Greedy Approach
This is the most intuitive method, and despite its "naive" name, it works surprisingly well.
The logic is: Focus only on the immediate best move.
At every step, the computer simulates every possible line it could draw. For each one, it asks a simple question: "If I add this thread, will it make my artwork look a little bit more like the target image right now?"
Mathematically, if we define T as the target image and C as our current canvas, the "error" is the difference between them. We want to find the single line l that minimizes the error of the new canvas. We can measure this using the sum of squared errors:

It calculates this "improvement" for every possible line, picks the single best one, and adds it permanently. Then it repeats the whole process to find the next best line.
This method is simple, effective, and forms the foundation for what comes next.
Strategy 2: The Ambitious (but Failed) "Solve-it-all-at-once" Approach
As a math lover, I tried to frame the problem with a big, elegant linear equation. Don't let the formula intimidate you. Here's what it means in plain English:
Ax = b
where:
- b is our target image, unrolled into one long list (a vector) of p pixel values
- A is a giant "dictionary" containing every possible thread we could ever draw. Each of its n columns is a single thread, also represented as a vector
- x is the "perfect recipe" we want to find. It's a list of 0s and 1s telling us whether to use (1) or not use (0) each thread from our dictionary

The goal is to solve for x by minimizing the difference between our constructed image Ax and the target b. The formal problem is:

In theory, solving for x would give us the entire solution in one go. But there's a catch. This is a very difficult "integer programming" problem. Standard math solvers relax the constraint to allow for decimals, finding a solution where the recipe values can be any real numbers:
They return values like 0.7, -0.2, or 1.5. What does it mean to "use 70% of a thread" or "use a thread negatively"? It's impossible in the real world.

When I tried to force these decimals into 0s and 1s (e.g., anything above 0.5 is a 1, anything below is a 0), the result was a mess. This grand plan failed.
Strategy 3: The Best of Both Worlds - The Winning Hybrid
This time, I combined the strengths of the first two strategies. It follows the step-by-step logic of the Greedy approach but uses the powerful math from the linear model to make each step's decision.
Here's the new and improved logic:
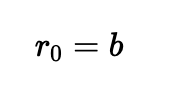
First, calculate the difference between my current artwork and the target image. Let's call this gap the "residual error." Initially, with a blank canvas, the residual is just the target image itself:
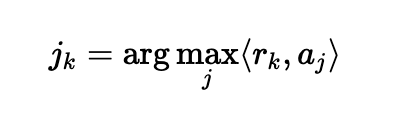
Now, instead of dumbly testing every single line, I use a smart mathematical question: "Looking at my dictionary of threads A, which single thread is the best match for filling in my current residual error?"
Mathematically, we find the thread (column) that is most aligned with our error vector by finding the one that maximizes the dot product:
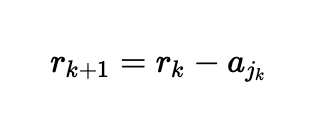
It finds this best-matching thread and adds it to the artwork. Then it updates the "residual error" for the next step by subtracting the thread we just added:
Then it loops back to find the next thread.
This method was a breakthrough! Not only were the results just as good as the simple Greedy algorithm, but by using efficient matrix operations (especially "sparse matrices"), it was incredibly fast.
Just look at the speed comparison on a 300x420 image:
| Algorithm | Runtime |
|---|---|
| Greedy Optimizer | 22 min 21 sec |
| Binary Linear Optimizer | 1 min 31 sec |
That's over 14 times faster! 🚀
Step 3: The Finishing Touches - Perfecting the Algorithm
With a great core algorithm, we can now add a few enhancements to make it even better and more realistic.
- A Single, Continuous Thread: Real string art is often made with one unbroken thread. We can add a simple rule to the algorithm: the start of the next line must be the end of the previous one.
- Focus on What Matters: In a portrait, the eyes and mouth are more important than the background. We can give the algorithm an "importance map" that tells it to "work harder" in specific areas, dedicating more threads to capture those details.
- Work Smarter, Not Harder: To speed things up even more, we don't need to check every single nail at each step. We can tell the algorithm to ignore nails that are too close to each other (the line would be too short to see) and to only consider a random sample of other nails. This drastically improves speed with almost no impact on the final quality.
And that's it! The black-and-white string art algorithm is complete, laying a solid foundation for the next big challenge: color.
If you’d like to play with this yourself, feel free to try the StringArt.